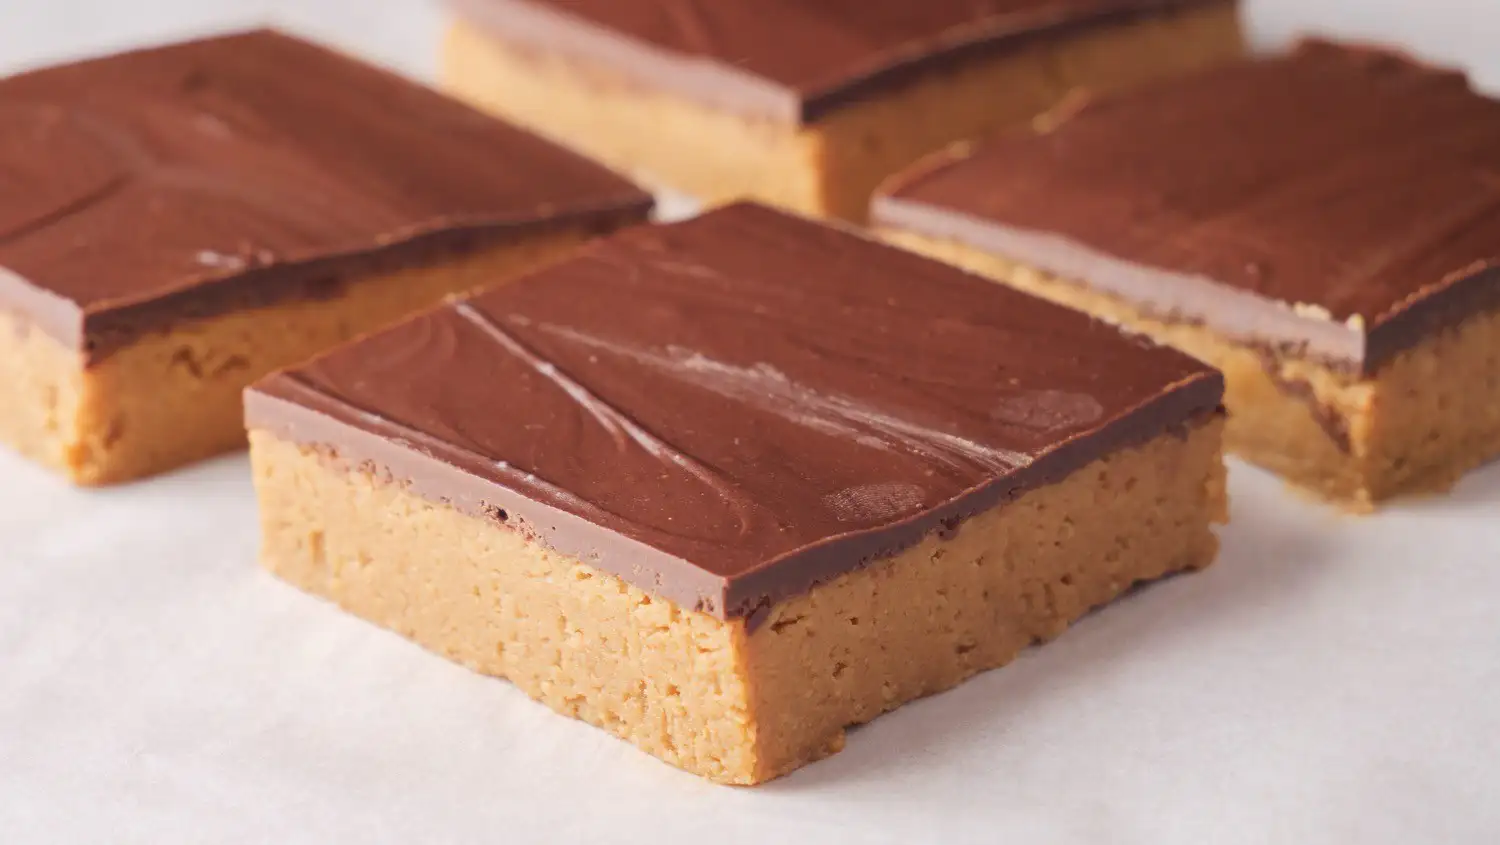
When in doubt, go for the classic combos that never seem to disappoint you! One of my favorite classic pairings is chocolate and peanut butter. The rich, creamy flavor of the peanut butter contrasts beautifully with the bold and velvety flavor of chocolate. With a buttery biscuit crust as a base and your favorite dark chocolate as topping, today’s no-bake peanut butter chocolate bars is an easy and irresistible treat.
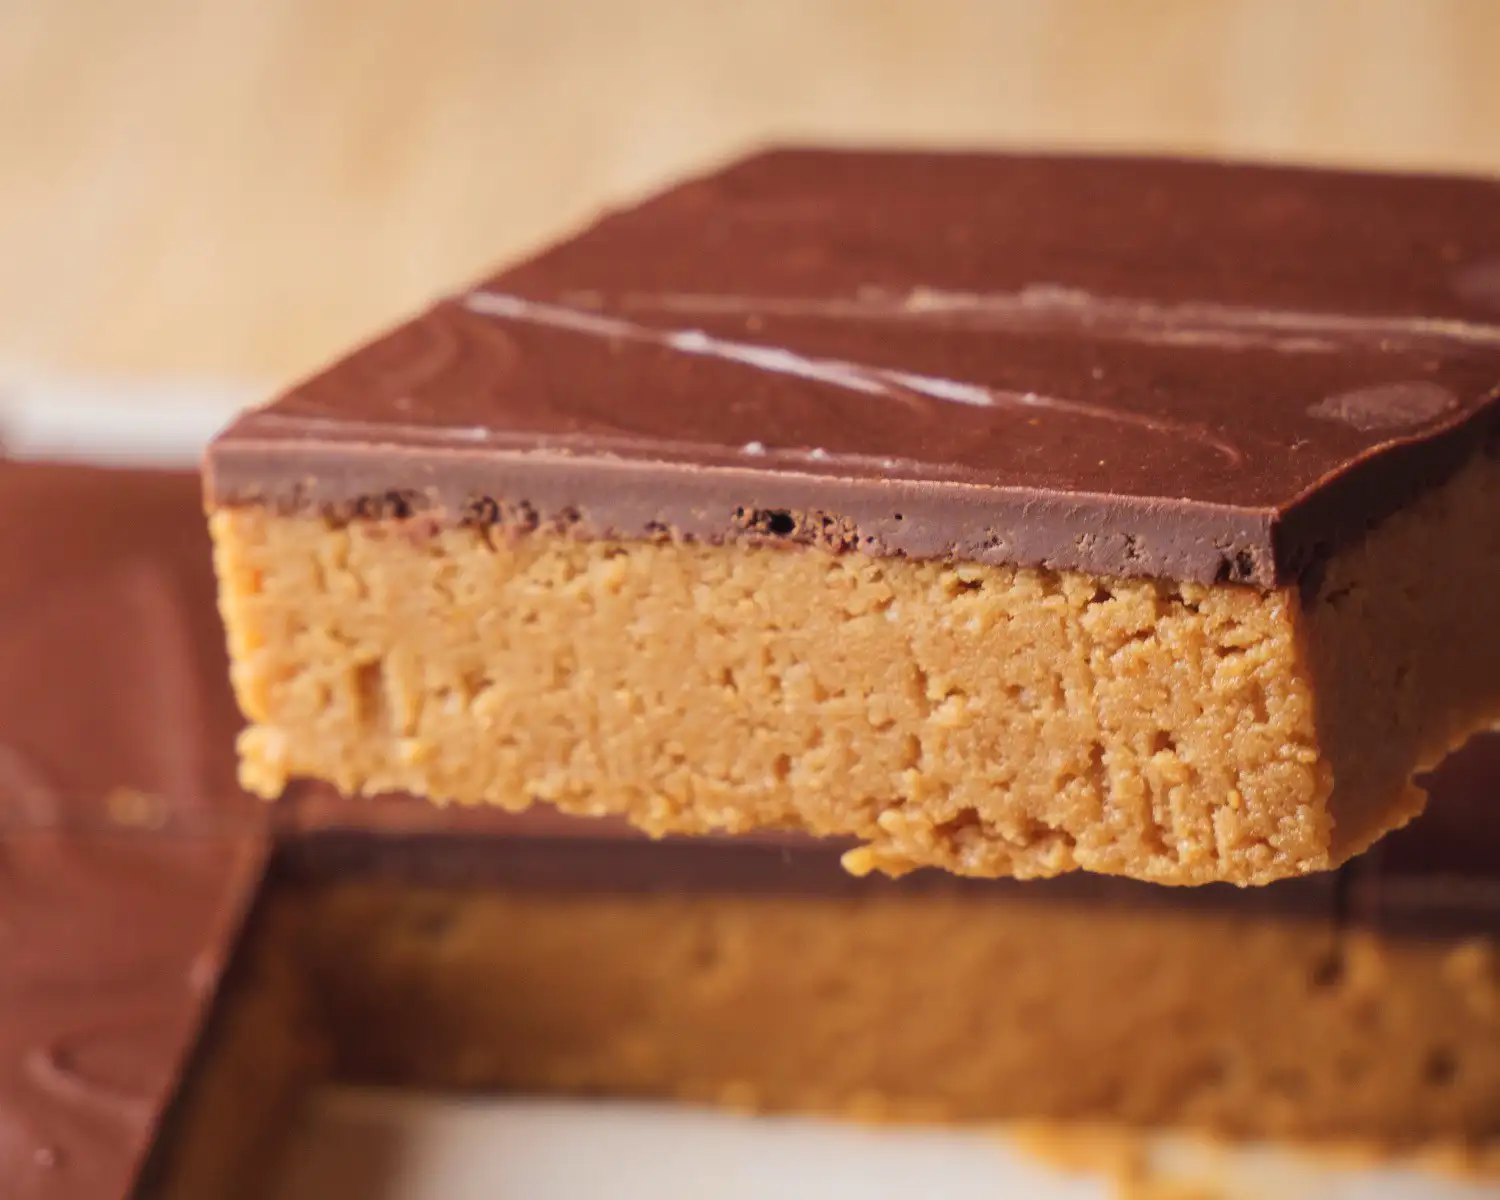
With each bite of this chocolate bar, you will experience two distinct layers with different textures. The bottom layer is a crunchy biscuit crust that adds a satisfying crispness to every mouthful. To complement the crunch, the top layer is made of rich, dark chocolate and creamy peanut butter that gives the dessert a glossy finish. Together, these two layers create the perfect balance of delightful textures and yummy flavors, making each bite unforgettable!
Not sure if you are in the mood for baking?

The best part is, this dessert doesn’t require an oven or any complicated steps! Just a few basic ingredients, a bit of mixing and chill time in the refrigerator are all you need to whip up this delicious no-bake peanut butter chocolate bar.
How To Slice a Chilled No-Bake Chocolate Peanut Butter Bars?
Messing up dishes at the last minute, right before serving, is my one true specialty! Whether it’s a cake, chocolate bars, pies or brownies, I somehow manage to cut them in uneven slices or worse- watch them fall apart just when I am about to serve!
If you are anything like me, this section is dedicated to you, so you don’t need to stress out about cutting your desserts anymore. With these helpful tips, you can avoid any last-minute mishaps and slice the peanut butter chocolate bar into perfect pieces every time.
Chill The Bars
The first thing you need to ensure before cutting is that the chocolate bar has been set completely on the refrigerator. If the bar hasn’t chilled properly, the layers won’t have time to firm up and it will be too soft to cut into individual pieces. Make sure to chill the peanut butter chocolate bar for at least 2 hours to get clean, neat slices without the dessert falling apart.

Use A Sharp Knife
We all have that one blunt knife lying around that we use to get most of the work done. But when it comes to slicing chocolate bars, it’s probably not the best choice!
Using a blunt knife may cause the layers to get pressed down together or crumble down the biscuit crust. To get clean cuts without ruining the texture, I recommend using a sharp chef’s knife or a serrated one.
The chef’s knife helps cut smoothly while the serrated knife slices without putting too much pressure. Whichever knife you choose, make sure it helps preserve the distinct layers of the chocolate bar.
Warm The Knife
To make the cutting process easier, run the knife you are going to use under hot water for about 15 seconds. Pat the knife dry with a towel and then use it to slice through the bars. The warmth of the knife helps glide it through the bar easily and gives you clean cuts without any mess.
Divide Into Smaller Sections
Instead of cutting the individual pieces right away, consider dividing the chocolate bar into smaller sections and cutting them first. Then slice the sections into individual pieces as per your preference. This method is especially helpful for large bars as it makes cutting easier ensuring each slice is in uniform sizes.
Clean Between Each Slice
As you start slicing through the bars, the knife will get coated with chocolate topping and become too sticky. Keep a paper towel or cloth nearby and wipe the knife between each cut. This will prevent the peanut butter or chocolate topping from getting stuck to the knife.

Tips and Variations To Make Peanut Butter Bars Recipe
- For the best creamy texture, use creamy peanut butter instead of crunchy peanut butter. Using crunchy peanut butter will work, too, but this will give an uneven and crumbly texture.
- Before adding the chocolate to the topping, chill the peanut butter layer. This will help the chocolate set appropriately.
- To get an even layer of chocolate, make sure you spread the chocolate over the biscuit crust using a spatula.
- For chocolate topping, make sure to use high-quality chocolate for better taste. I use semi-sweet chocolate but feel free to use chocolate chips or cocoa powder. You can also use dark chocolate chips to make this recipe.
- You can also sprinkle some nuts, semi-sweet chocolate chips, or flakey sea salt on top of the chocolate layer.
- You can make this chocolate peanut butter bars recipe with almond butter, cashew butter, cookie butter, coconut butter, hazelnut butter, etc.

Peanut Butter Chocolate Bars | No-Bake Chocolate Peanut Butter Bars Recipe
Ingredients
- Butter (For Greasing)
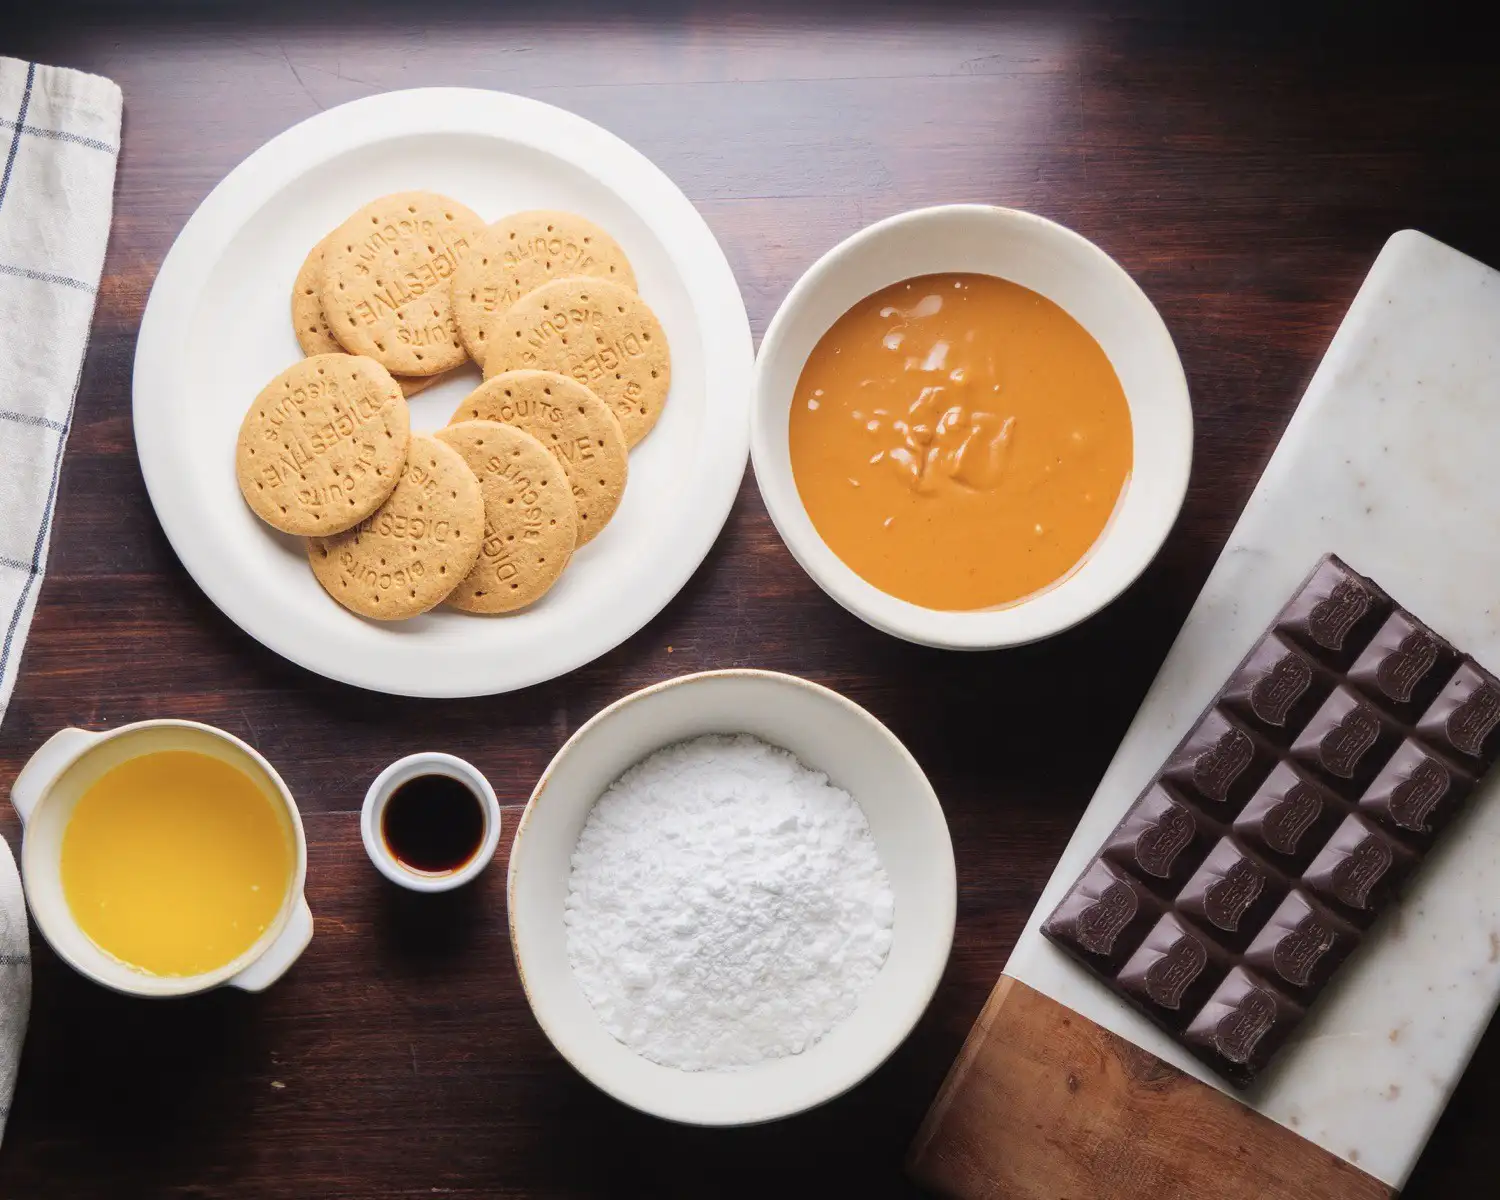
- 8 pieces Digestive Biscuits
- 1 cup / 120 g Powdered Sugar
- 1 cup / 258 g Creamy Peanut Butter
- ½ cup / 125 ml Melted Butter
- 1 tsp / 5 ml Vanilla Essence
For Chocolate Topping
- ¾ cup / 132 g Semi-Sweet Dark Chocolate (Chopped)
- 2 tbsp / 32 g Creamy Peanut Butter (For Topping)
Equipments
- 7" x 7" Inch Baking Pan
Instructions
Prepare The Pan
- Take a 7×7-inch square pan and grease it lightly with butter using a brush.
- Line the bottom of the pan with a piece of parchment paper and brush again on top of the paper.
- Place another piece of parchment paper on top of this layer and set the pan aside for later use.
Make Biscuit Crust
- Place 8 pieces of digestive biscuits in a food processor and pulse them until they are processed into fine crumbs.
- Pour the biscuit crumbs into a mixing bowl.
- Add 1 cup of powdered sugar and 1 cup of creamy peanut butter into the bowl.
- Pour ½ cup of melted butter into the mixture.
- Add 1 tsp of vanilla essence to the bowl.
- Use a spatula to mix everything until well combined.
- Pour the batter into the pan you prepared earlier. Press the mixture evenly into the pan with the spatula.
- Place the pan in the refrigerator for 15 minutes to set.
Prepare The Chocolate Topping
- Chop a semi-sweet dark chocolate bar to measure about 3/4 cup.
- Place the chopped chocolate in a small mixing bowl.
- Add 2 tbsp of creamy peanut butter to the chocolate.
- Microwave the bowl in 30-second intervals, stirring between each, until the chocolate mixture is completely melted and smooth.
Add Topping and Refrigerate
- Take the biscuit crust out of the refrigerator.
- Pour the melted chocolate mixture over the base crust and spread it evenly using a spatula.
- Place the pan back in the refrigerator and chill for 2 hours.
Cut, Serve, and Enjoy!
- Once chilled, remove the bar from the pan and place it on a cutting board.
- Using a sharp knife, cut the chocolate bar into your desired bar sizes.
- Enjoy your homemade, no-bake peanut butter chocolate bars!
Video
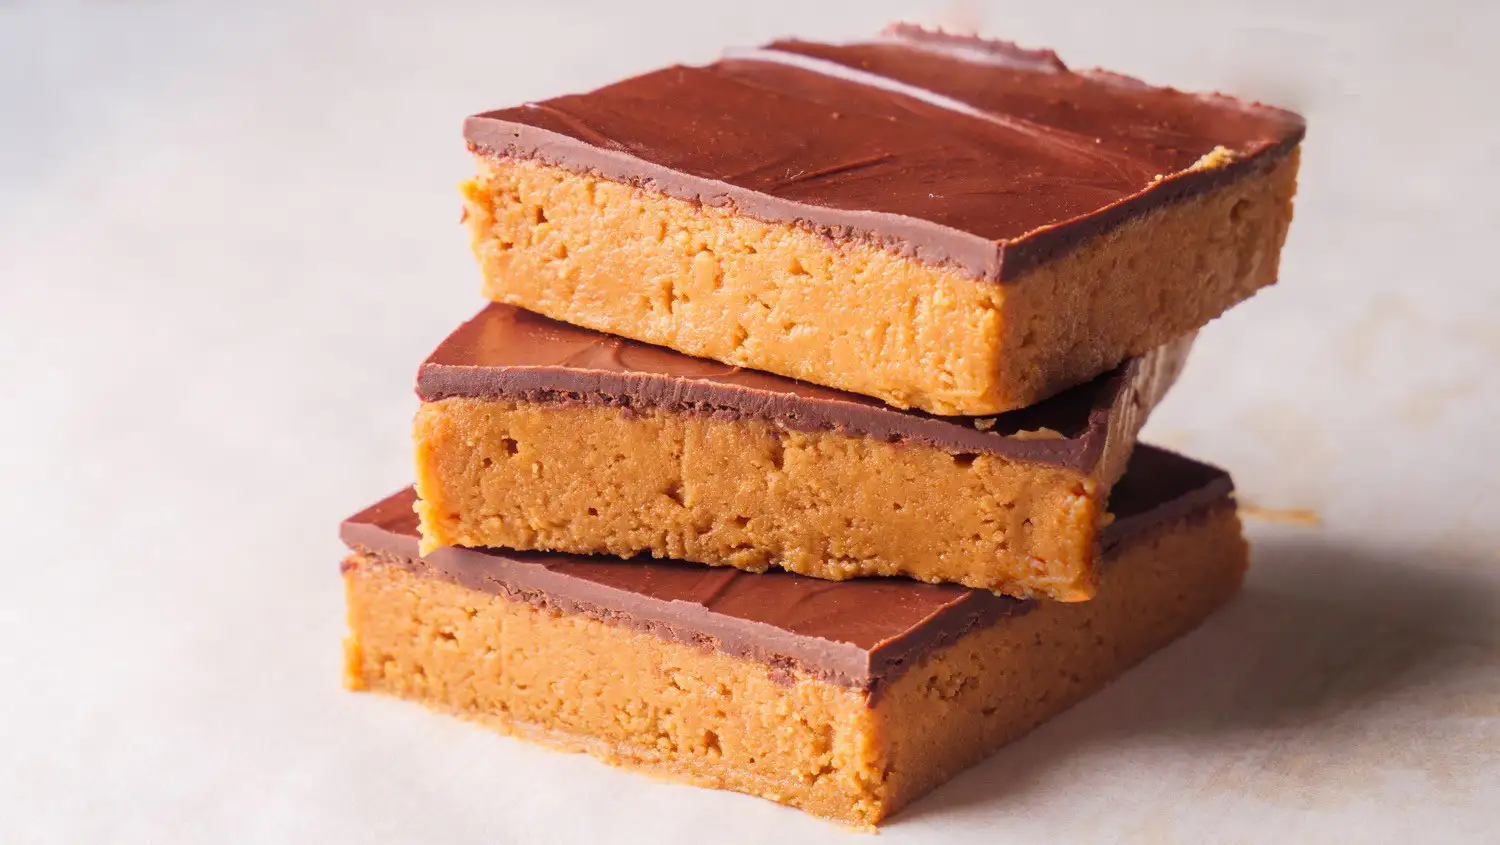
My favorite part about this dessert is its convenience for sharing! Made of creamy peanut butter and melted butter, the bar has a soft texture that’s easy to slice, yet the structure is firm enough to pass along to anyone nearby without any mess. When chilled in the refrigerator, it brings a refreshing, soothing vibe that’s perfect for serving at gatherings.
You can also make these no bake chocolate peanut butter bars for a party or as a gift to your family and friends on special occasions. They’re easy to make with simple ingredients, and there is no baking hassle. They come together very quickly, making them the perfect dessert.
Recipe FAQs
Can I Use Milk Chocolate Instead Of Dark Chocolate?
Yes, you can use milk chocolate to make the chocolate topping. However, milk chocolate is sweeter compared to dark ones, so the taste will be different and less rich than the recipe.
How To Store No-Bake Peanut Butter Bar?
You can store the bars in an airtight container in the refrigerator for up to 1 week. For longer storage, wrap the bars tightly in plastic wrap and place them in a freezer-safe bag to keep them in the freezer for up to 1 month.
Can I Use A Larger Pan For Making This Chocolate Peanut Butter Bar?
You can use a larger container if you don’t have a 7×7-inch pan. Keep in mind that the larger the pan, the thinner the chocolate bars will be, and they may not hold their shape as expected.
What Happens If Crunchy Peanut Butter Is Used Instead Of Creamy?
If you use crunchy peanut butter instead of the creamy varieties, the mixture will have a chunky texture that makes it harder to mix. To smooth it out, you will need to warm the peanut butter slightly and stir well to break large chunks.


Leave a Reply